
Why Home Inspection Preparation Matters
A home inspection is one of the most important steps in the real estate process. For buyers, it provides peace of mind that they’re making a smart investment. For sellers, it can make or break a deal. That’s why home inspection preparation is critical. When your home is ready, the inspection process goes smoother, and the report reflects your efforts.
If you’re searching for the best home inspection near me or want tips directly from the best home inspectors near me, this guide will walk you through how to get your home ready inside and out.
Step 1: Know What Inspectors Look For
Before diving into preparation, it helps to understand what a home inspection covers. Inspectors typically evaluate:
- Roof and attic
- Plumbing and electrical systems
- Heating and cooling systems (HVAC)
- Foundation and structural integrity
- Walls, ceilings, and floors
- Doors and windows
- Appliances (if included in the sale)
By knowing what’s on the home inspection checklist, you can get ahead of potential issues before the inspector arrives. For more details about what a home inspector looks for, check out our blog Home Inspection Checklist: What Is Looked for in a Home Inspection?
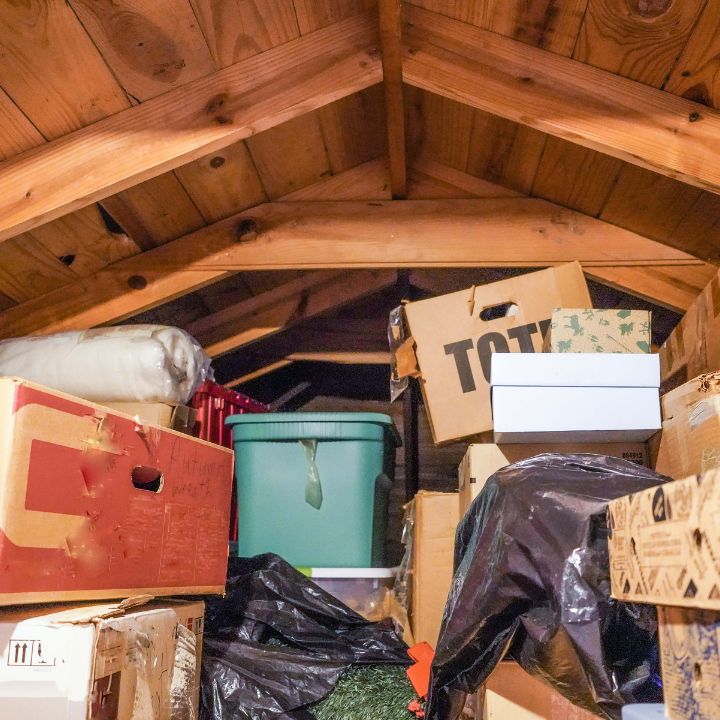
Step 2: Declutter and Provide Easy Access
One of the simplest yet most overlooked parts of home inspection preparation is making sure the inspector can access every area of your home. That means:
- Clearing clutter from basements, attics, and garages
- Unlocking gates, sheds, and utility closets
- Moving stored items away from walls so the inspector can check outlets, wiring, or foundation
The best home inspectors near me will always appreciate when a homeowner makes access easy as it saves time and ensures nothing gets missed.
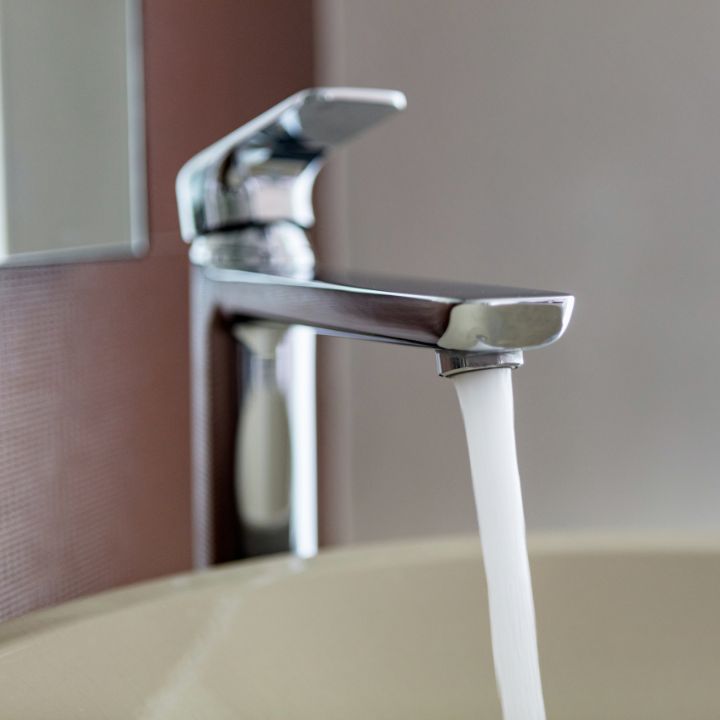
Step 3: Address Minor Repairs in Advance
Small issues add up quickly in an inspection report. To avoid raising unnecessary concerns for buyers, tackle simple fixes ahead of time:
- Replace burnt-out lightbulbs (inspectors may flag this as “inoperable fixture”)
- Replace HVAC filters
- Fix leaky faucets or running toilets
- Repair broken door latches, locks, or handles
- Re-caulk around tubs, sinks, and windows
A little attention to detail can help you present your home in its best light and make the report look cleaner.
Step 4: Check the Major Systems
While you may not be able to fully repair large systems, you can make sure they’re in good working order before the inspection. This includes:
- Testing your HVAC system (heat and air conditioning)
- Flushing toilets and running sinks to check water flow
- Ensuring all appliances function as intended
- Looking for signs of leaks under sinks, near the water heater, or around windows
Buyers feel more confident when the home inspection shows that the home’s essential systems are being maintained.
Step 5: Clean the Home Thoroughly
While cleanliness doesn’t affect whether the inspector marks a system as functional, it does affect perception. A tidy, well-kept home suggests that you’ve taken care of it. Dust, vacuum, mow the lawn, and trim overgrown shrubs to make the inspection process easier and more professional.
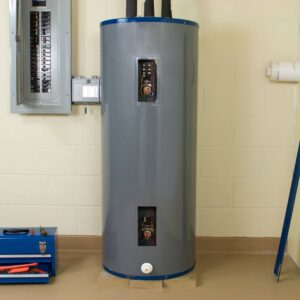
Step 6: Leave Utilities Connected
If a home’s utilities are shut off, the inspector won’t be able to test important systems. This can delay the inspection and potentially the closing process. Make sure:
- Water, gas, and electricity are on
- Pilot lights are lit on appliances like stoves or water heaters
This simple step helps avoid costly re-inspections.
Step 7: Prepare Documentation
If you’ve recently repaired or replaced major systems, provide documentation. This can reassure buyers and inspectors that the work was done properly. Examples include:
- Roof replacement receipts
- HVAC service records
- Plumbing or electrical upgrades
- Pest control records
Having paperwork on hand adds credibility and may even strengthen your negotiation position.
Step 8: Plan to Be Away During the Inspection
Most home inspectors recommend that sellers not be present during the inspection. This allows buyers to freely ask questions and the inspector to focus on their work. Plan to be out for at least 2–4 hours, depending on your home’s size. Not sure what to ask your inspector? Check out our blog Top 10 Questions to Ask Your Home Inspector.
Step 9: Consider a Pre-Listing Inspection
If you’re selling, one of the smartest steps in home inspection preparation is ordering a pre-listing inspection. This allows you to uncover issues before a buyer’s inspector does, giving you time to make repairs or adjust your listing price accordingly. Many sellers find this step helps avoid last-minute surprises.
Step 10: Partner with the Best Home Inspectors Near You
At the end of the day, proper preparation matters most when paired with the right professional. Choosing one of the best home inspectors near me ensures the inspection is thorough, fair, and professional. Look for:
- Licensed and certified inspectors
- Clear, detailed reports with photos
- Strong local reputation and reviews
- Knowledge of state-specific requirements
When you work with the best home inspectors near me, the entire process is smoother and you can feel confident knowing nothing was overlooked.
Final Thoughts: A Little Prep Goes a Long Way
Whether you’re buying or selling, full home inspection preparation is a vital step in the real estate process. By decluttering, making small repairs, ensuring access, and gathering documentation, you’ll be ready for a smooth and successful home inspection.
Looking for the best home inspectors near me? Contact our experienced team today to schedule your inspection and take the guesswork out of buying or selling your home.